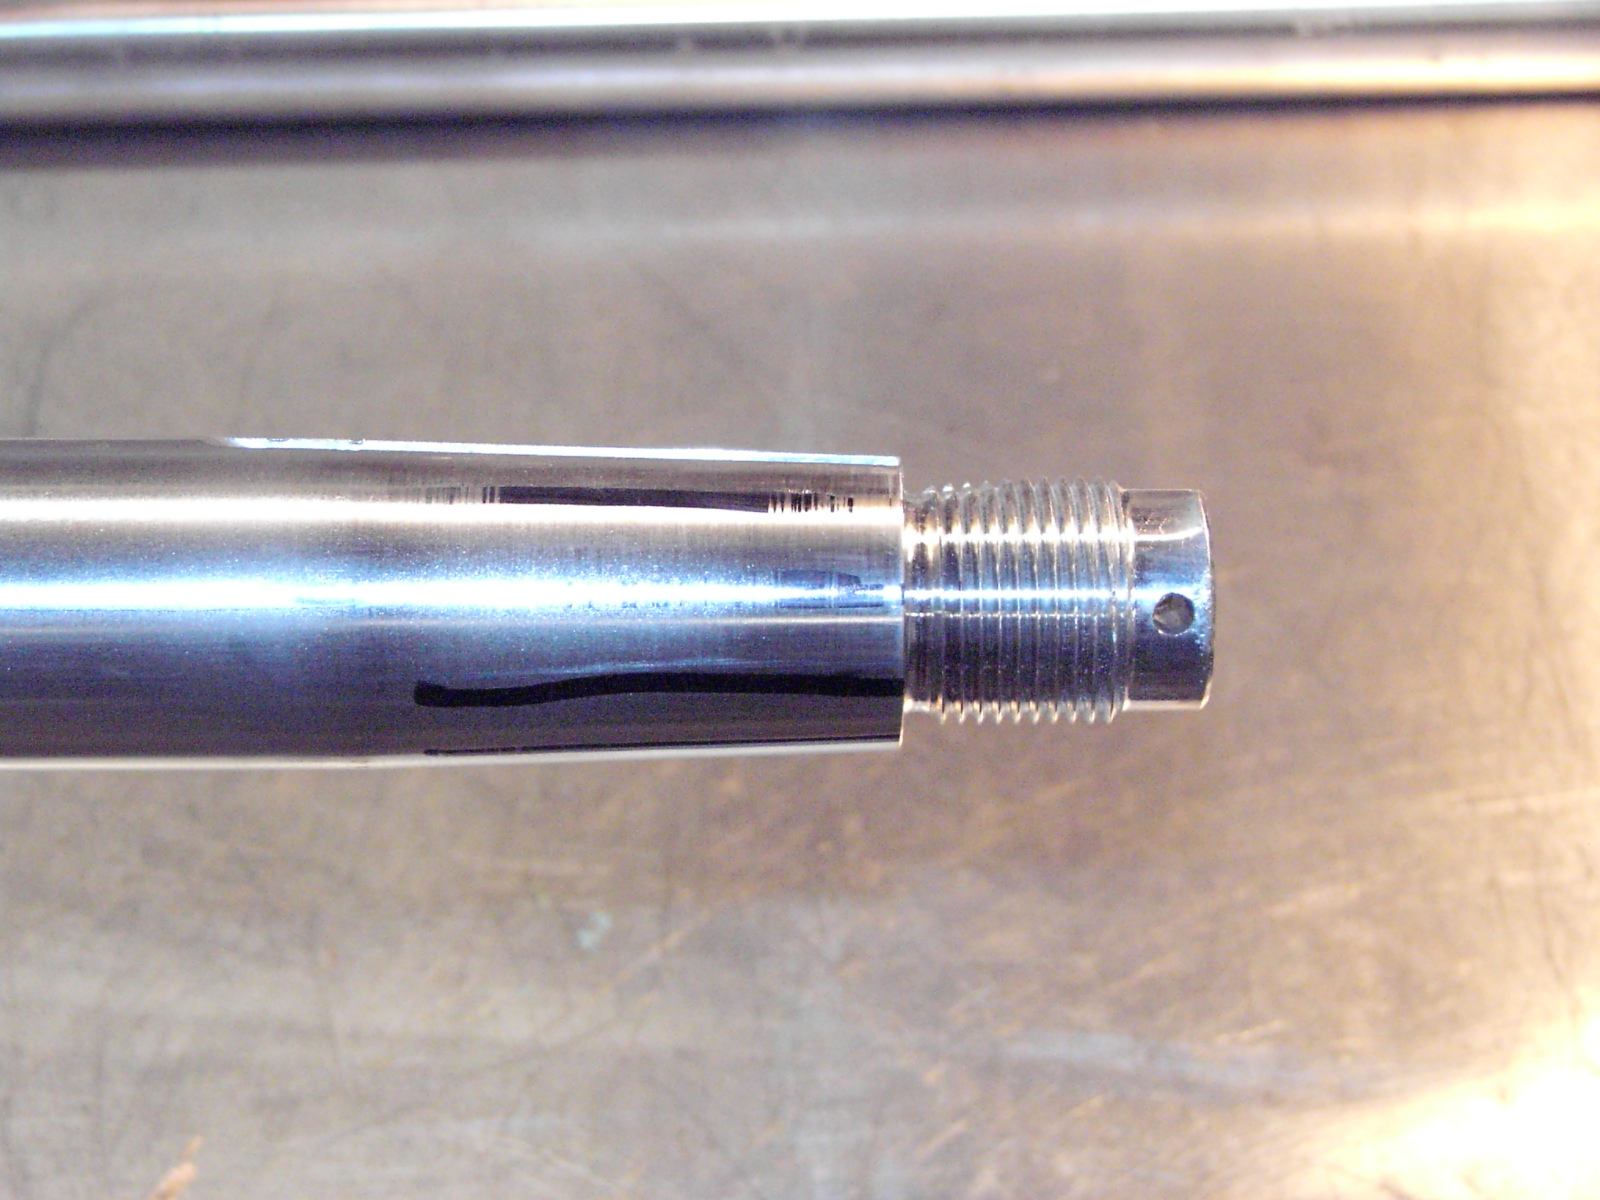
The propeller shafts are now nice and clean. I used a concentrated Hydrochloric acid solution to remove the deposits, then polished the shafts in a lathe. I then deburred and smoothed any rough edges on the shafts, paying particular attention to the keyways and threaded areas. The last step is to check the fit of the transmission drive flanges to the shaft. The shaft is tapered, and the flange is also tapered. The rule of thumb is for not-less-than an 80% contact area between the two. To check the fit, apply dye marking compound (magic marker works in a pinch) to the shaft, then gently push the flange onto the shaft, rotate slightly, and remove. The resulting scuff marks reveal the contact pattern:
This was my first attempt on the starboard shaft. Clearly, the pattern is not uniform - one line is unscathed, while another only shows contact at the ends, not in the middle. So, to improve the mating pattern, I applied 320 grit lapping compound to the shaft, pushed the flange onto the shaft, and rotated. Push and rotate, push and rotate, push and rotate.....After a few minutes, I removed the flange, cleaned everything, and checked the pattern again. It was better, but still not good enough, so I repeated the process. After a few more cycles, I cleaned the shaft, applied the black ink, and checked the pattern. The final result is shown below:
The ink was evenly scuffed, and the contact pattern is smooth and uniform all around. The whole process was repeated on the other shaft, with the other flange, to achieve similar results. Be careful to mark each flange and shaft when complete - they become matched sets, and cannot be mixed up!
Following the fitting, each flange was carefully masked, and then sandblasted on the exterior surfaces only.Back in the lathe, the mating surface was carefully cleaned with fine polishing cloth. They looked like this when fully cleaned:
Finally, a coat of paint was applied, followed by 2 coats of clear:
I know, why purple, right? There's a long history involved, but those who know me know that every project I complete has to have at least one purple item. Plum crazy, to be exact. Just go with it....
 lapping compound to the shaft


nice post on flange fittings can u write blog on shims
ReplyDeletePreparing prop shafts and flanges requires careful cleaning, polishing, and checking the contact pattern for proper fit. Similar to how Kf Flanges for Vacuum ensure precise sealing under tight tolerances, lapping and dye marking help achieve uniform contact. Once matched, the flanges are polished, sandblasted, and coated for long-lasting, smooth operation.
ReplyDelete