Sunday, April 22, 2012

Flooring - Part 2

The floors are complete, finally. I have about 3 weeks into this project, with a total time investment of about 60-80 hours. There are a total of 13 teak trim pieces, each custom fitted. Before they were installed, I leveled the floor with an epoxy compound. The cabin floors on boats are not usually very flat, since the factory installs a carpet when they are done, and that can hide a variety of ills. Fiberglass tabbing, variations in laminate thickness, and other factors all contribute to uneven flooring. Since grinding the high spots can potentially weaken the structure, I decided to fill the low spots instead. It's a painstaking process, but the results are worth it.

Once the deck is prepared for the new flooring, I used a low strength adhesive, and bonded down each piece. The flooring is custom fitted - one section at a time. There are no straight lines or 90 degree corners on a boat, so it makes for a slow fitment. The adhesive is flexible, and if I ever need to get the floor up, it will lift, with a bit of persuasion. Hopefully, that day will never come.


These pics were taken just after the flooring was complete, so the rest of the interior is a bit of a mess. I wish I had a better camera - the pictures don't do the floor justice at all.

Sunday, April 15, 2012

Flooring and Trim

My wife has wanted a new floor in the cabin since we bought the boat. The original carpet was getting old, and some stains just wouldn't come out of it. So, we decided to go with a modern wood floor inside the boat.

I started by removing all the old carpeting in the cabin - both in the mid stateroom, and the main cabin. It's glued and stapled down, so it takes some time to get it up, and it's a slow process. Much of the adhesive is left behind on the cabin sole, and it creates a rough, irregular surface, so it also has to be removed. I spent a few hours on my hands and knees with scrapers, razor blades, and a belt sander to get it all off, but it is done.

The flooring I am using is an engineered product, with a composite backing, and a hickory top (yes, hickory). The composite backing provides good resistance to dimensional changes from temperature and humidity fluctuations, while the Hickory is a beautiful contrast with the Cherry cabinetry.

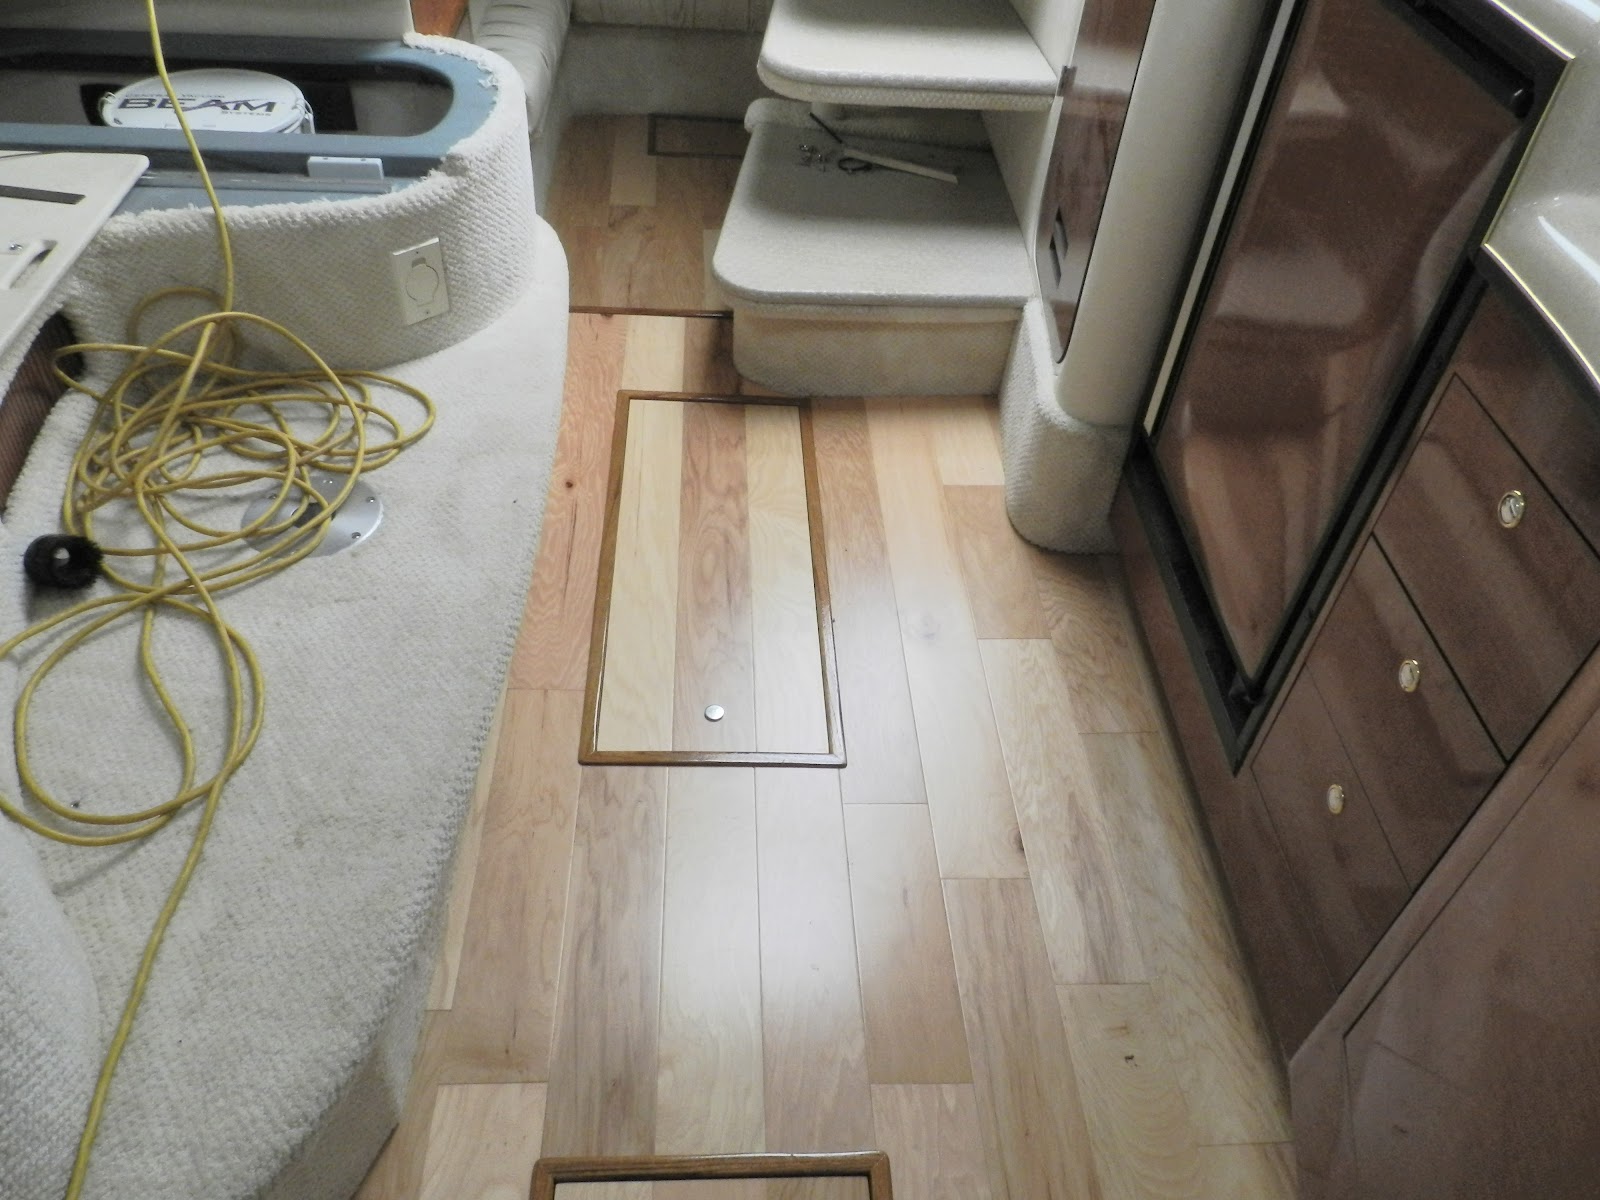
I have a few pictures for today - but they are really just teaser shots. I had to make 2 new hatches for the cabin sole - the old ones were just not up to my standards. Also, I wanted some trim to go around each hatch, so I decided on some solid custom teak. I had a nice 5/4 teak plank left over from a previous project, so I milled that into the required trim items. There are 13 different pieces, each custom fitted. Four are below:


These were shot before finishing to match the flooring, but I am not posting those pics until the floor is done. The new hatches are seen below:


 They still need some finish work, but they are roughed out, as you can see. I'll post more of the flooring soon - it's actually already installed, but I need to do a little cleanup first....

Thursday, April 5, 2012

Teak Decking

I have had the pleasure of working with Travis Tea and his team at TT Custom Marine, http://www.ttcustommarine.com/ , out of North Carolina, for the new decking I will soon be installing in the 340's cockpit.

Travis sent me a series of pre-marked templates for my boat, which I then placed and aligned in the cockpit. I've made some changes to this boat (obviously), and wanted the decking to reflect the boat's custom boat builder theme. So, using a red marker, my wife and I meticulously adjusted the template to our liking. All the corners are precisely radiused, and we made sure that the spacing and alignment of each section was parallel and symmetrical.

If you look in the pics, you can see how we highlighted the proper cut lines, and left little notes for Travis and his team.


Once we were done, I decided against separating the templates from each other for shipping. Travis would have to re-assemble them, and no matter how precisely he did that, there would be increased chance for error. So, so he could see the whole picture at once, I rolled up the entire template as a unit (it was made of 3 larger panels, taped together), and shipped it in a long cardboard shipping tube. As part of the shipment, I included a CD with a dozen or so pictures of the template in the boat, after marking the corrections and changes, so Travis would have a means of seeing how the template related to the cockpit.

As the panels get installed, and as I get some pictures taken, I'll do a post or two on the installation. The interior is coming along too, so I'll get some pics up ASAP.