The barrier coating is done. Five coats total to get the required film thickness. Thankfully this is a one time job! Here she is, all smooth and sealed:
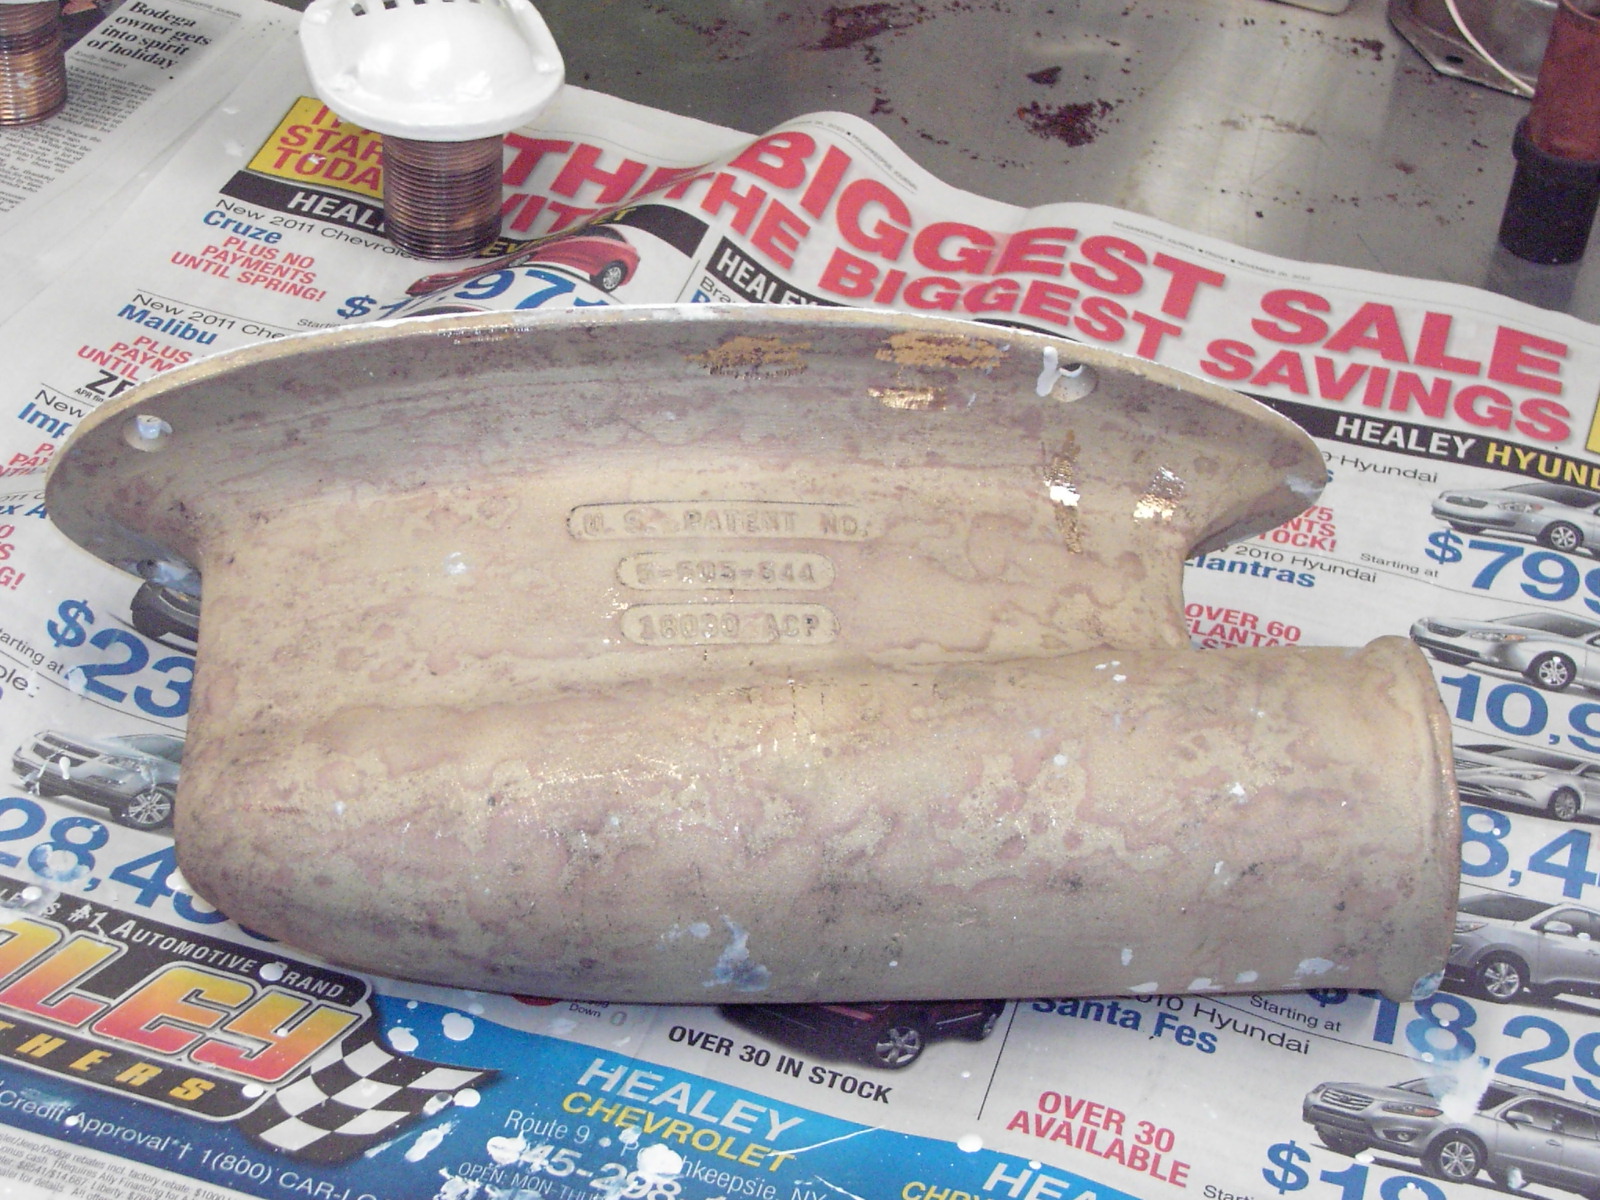
Before I applied the barrier coats, I had to reinstall the underwater exhaust discharge castings. These are made of bronze, so I sandblasted them first, then applied 3 coats of barrier to them, inside and out, as a corrosion preventer. This was folowed by 3 coats of ablative anti-fouling paint, on the inside only, to prevent growth. The same process was repeated on all the thru-hull fittings, before they were installed:
They are shown here during the coating process. Once they were ready, I barrier coated the hull where the hull penetrations were located, then installed the thru-hull fittings with the new seacocks (detailed in a previous post), and installed the underwater exhaust.
Then I barrier coated the hull and fittings together. I can't think of a better way to do it, or one that is more labor intensive. But the results speak for themselves. From this point forward, the maintenance should be a snap (relatively speaking), and galvanic corrosion will be minimized.
The ablative antifouling paint has been applied to the hull (3 coats), and I'll post some pics in the next post, after I pull off the striping tape.


Okay, I know you probably do not monitor this these days, but I refer to it very often in he sea prep of my '90 310/330 Sundancer. I have to ask, how did you go about removing the seawater inlet screen/thru-hulls? I have the same 3-hole flanged, bronze seacocks and don't want to damage them in their removal. Thanks in advance.
ReplyDelete