So, let's take a look at this "procedure". You move the shaft all the way to the left, than all the way to the right, and align it in the middle of these two extremes. Vertically, the same process applies. Now, what limits the movement of the shaft? If you have a conventional stuffing box, the shaft won't move much. Dripless seals, such as from Tides Marine or PSS, really don't support the shaft at all, so the shaft can move a bit more. But, either way, the strut is left out of the equation this way. At best, you are aligning the transmission to the shaft in the center of the shaft log, but maybe not. In reality, you are aligning the transmission to the center of the shaft's travel, within the range of motion it was limited to. But what limited that range? The stuffing box? The shaft log? The shaft log on one side, and a bent strut on the other? Yikes!
The only way to do this right, is to follow a step by step, methodical procedure, and verify that each component of the system is in proper position before moving to the next. And it starts with the strut and cutlass bearing. Now, if the factory did a good job with the strut alignment, and the boat has never been in contact with something harder than water, you stand a good chance that the strut bore is aligned precisely with the shaft log penetration. I was fortunate that both of mine were well aligned, and needed no adjustment. If yours are not, then the offending strut(s) have to be removed from the boat; both the boat and the strut cleaned thoroughly, and then the strut must be reinstalled and re-bedded in proper alignment.
Once the strut is true with the shaft log, we have something to work with. It is always best if the shaft is centered in the shaft log penetration, so the shaft has room to move around as the engine shifts on it mounts, and also to minimize the stress placed on the shaft seal, whatever style it may be. Since we know the strut is aligned to the shaft log, it follows that if we support the shaft in the center of the log, and support the other end of the shaft in the strut with a new cutlass bearing, the shaft will be in the correct position to align the engine to. In order to do that, I made yet another special tool - a shaft support bushing. This is a simple, stepped plastic bushing, bored to fit the shaft with about 0.001" clearance around the shaft, and turned to an outside diameter that just fits inside the shaft log. Here is a picture of it installed in the shaft log:

Now the transmission/engine was aligned to the shaft. It was so much easier to do this, with the shaft rigidly supported in exactly the right spot, than it would be without a support bushing. The alignment itself is easy enough to do, and is well detailed all over the net, so I won't get into all that here, other than a few reminders:
1 - If the alignment is done on dry land, it should be checked / adjusted after the boat has been in the water a couple days.
2 - Don't raise the motor or transmission too high on the threaded adjusters. Instead, place shims under the motor or transmission mounts, so you can stay on the lower portions of the threaded adjusters. This reduces the strain placed on the mounts. Take the time - do it right! The engine manufacturer will have specifications for the maximum height on the adjuster - don't exceed it. I had to shim the mounts on one engine/transmission 3/4", while the other side was 1/2". Sea Ray didn't take the time to do it properly, and the old mounts showed the evidence of it.
3 - Take your time. A well aligned boat is a smooth, efficient boat.
4 - As the shaft goes in for the final time, lube it with soapy water at the cutlass bearing, and also where the dripless seal will ride. This provides some lube at the initial start-up, and makes the assembly go easier.
5 - As the shaft goes in, slide the dripless seal over the shaft, but don't clamp it to the log yet. Wait until the shaft is completely installed, then slid the seal down over the log, and double clamp it. This way, the seal is perfectly aligned with the shaft. And, since the shaft is centered in the log, it will give many years of trouble free service. A cocked shaft seal, installed improperly and under stress, will fail prematurely, with potentially disastrous results.
OK, that's enough for today. I'll throw up a few more pics before I get back to work. And Happy Father's Day!
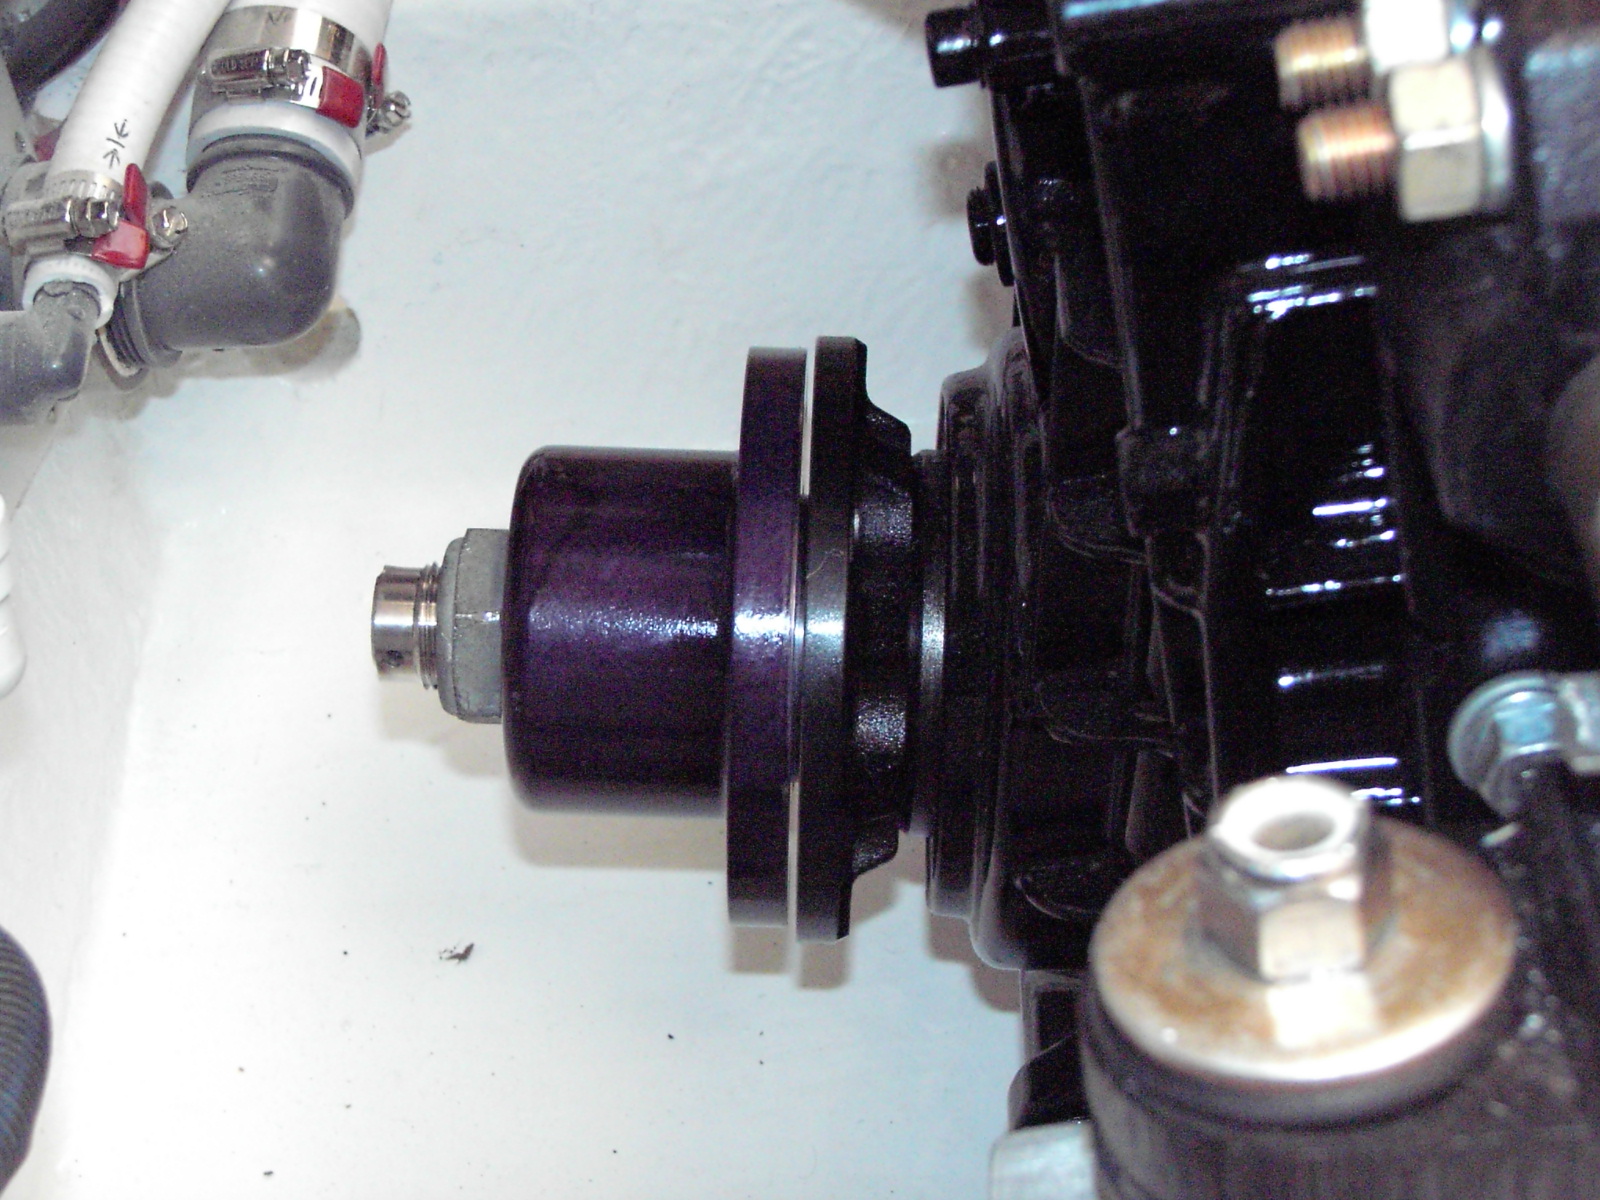
Here are the two flanges, just before going together. This was a mock-up shot, before everything got tightened down. Lot's of room around the transmissions now, with the revised plumbing!


No comments:
Post a Comment